Mirage Tower: Endgame Challenge
Endgame Encounter
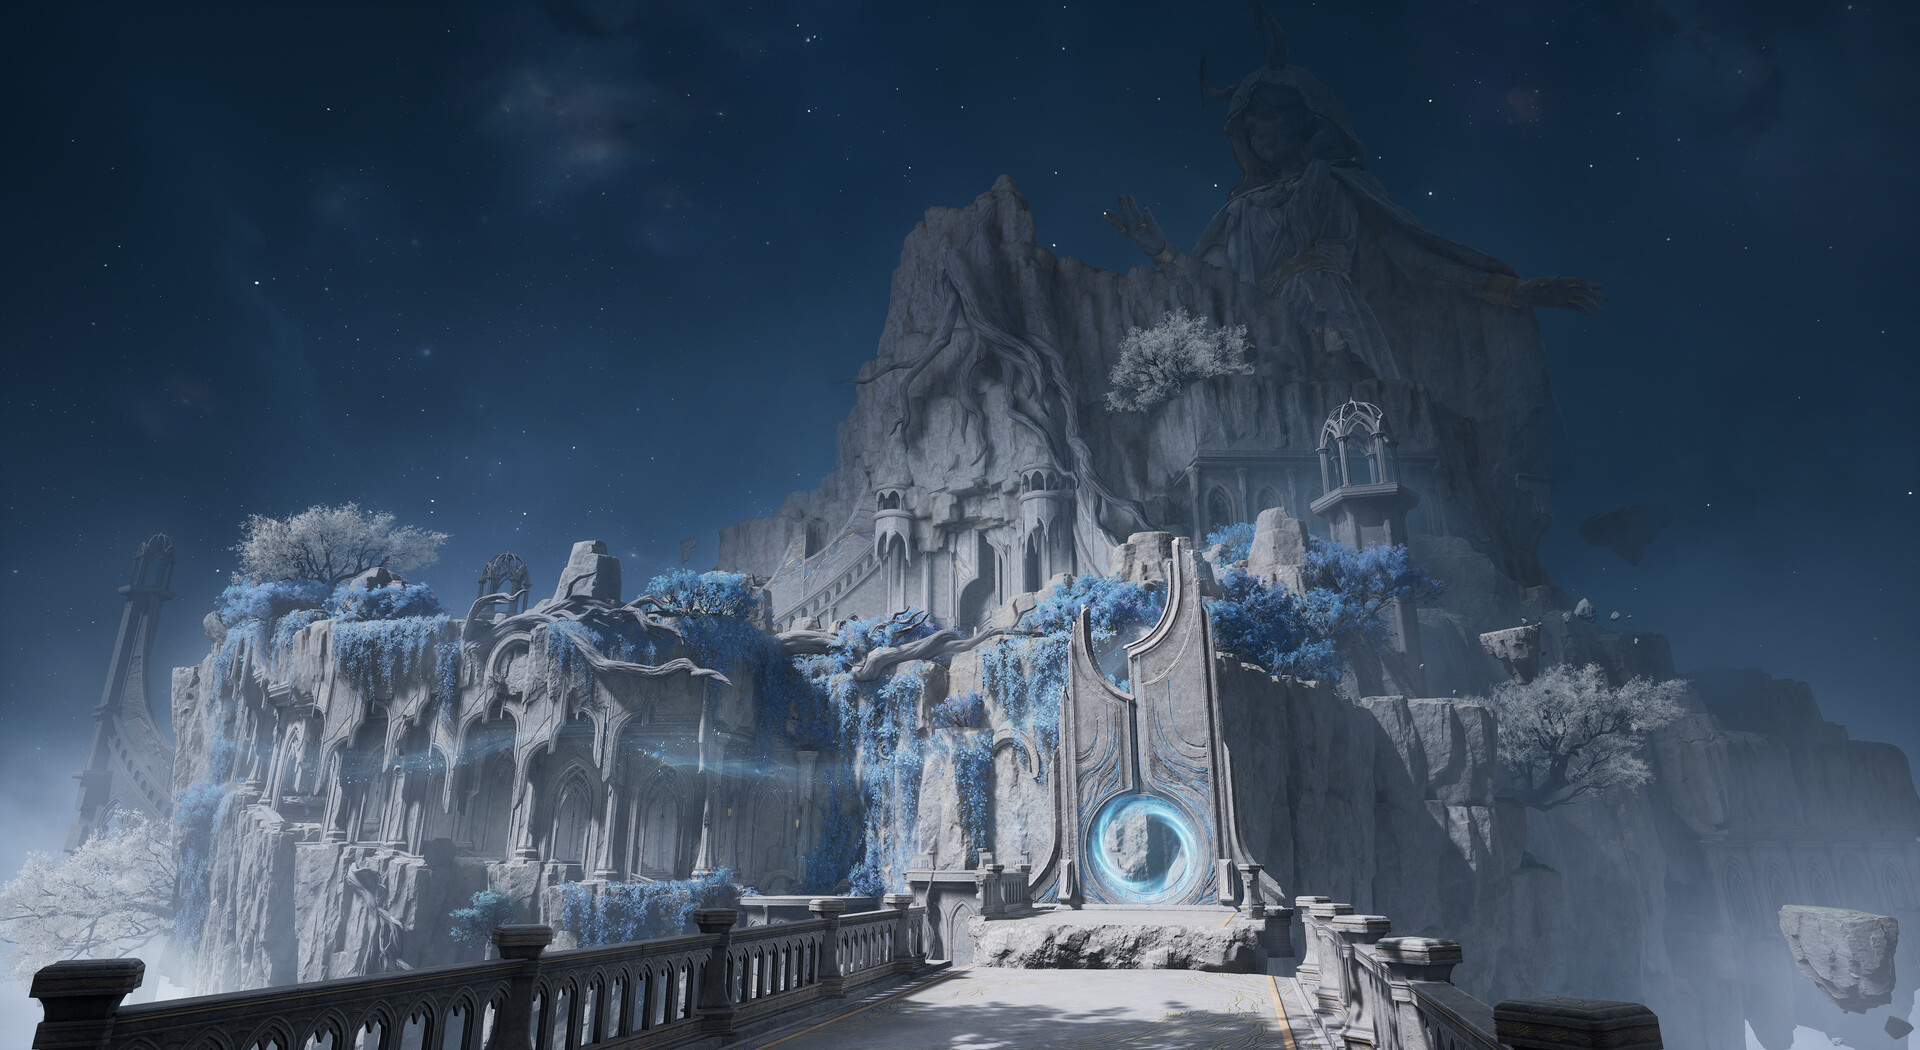
Mirage Tower
Recommended Level: 45+
Respawn: Weekly (Floor reset)
🎯 Encounter Structure
- Format: The Mirage Tower is a climbing challenge with floors that increase in difficulty. Each floor presents unique styling challenges.
- Floor 50+: The boss on high floors appears as a reflection of your current outfit. It copies your highest stat and uses it against you.
- Key mechanic: The boss counters whatever outfit you used on the previous floor. Switch to a secondary outfit set before each major encounter.
💡 Strategy & Loadout
- Critical insight: The boss copies your stats: weaker gear on the first phase = weaker copy to fight.
- Counter-element strategy: Match each opponent's attribute with its opposite: Fresh vs Mature, Sweet vs Elegant, etc.
- Dying doesn't reset completely: You restart at the last checkpoint, not from floor 1. Use early attempts to study patterns.
- Pro tip: Build at least 2 strong outfits of different style types before pushing past floor 30.
Prime Evolution Crystal x1 (Floor 50+)
Starshard x5
Style Prism x10
Legendary Accessory (first clear reward)
💡 Weekly Boss Priority Order
First: Astral Drake (weekly reset, best rewards: Starshards). Second: Chrono Golem (evolution materials). Third: Verdant Guardian (easiest, quick clear). Fourth: Mirage Tower floors (push as high as you can, resets weekly).